Stopping fabric from fraying with glue means using adhesive compounds to bond loose fibers together at the edge of the fabric, forming a flexible barrier that prevents unraveling.
This method works because glue enters the weave, surrounds the fibers, and locks them in place as it cures.
When applied correctly, adhesive stabilization offers a fast, clean solution for hems, seams, patches, costumes, upholstery repairs, and craft projects where sewing is inconvenient or unnecessary.
Why Glue Prevents Fraying So Effectively
Fabric frays when fibers slip free from the woven structure under motion and stress.
Glue interrupts this movement by creating cohesion between neighboring fibers.
As the adhesive cures, it transforms a loose edge into a reinforced boundary.
This boundary remains flexible but strong, allowing the fabric to bend and move without releasing threads.
Some fabrics respond especially well to adhesive treatment.
For example, in blends and synthetics, polyester can fray in a way that benefits from bonding, because the filaments stretch instead of snapping, making glue-based reinforcement highly effective.
Best Types of Glue for Fray Prevention
Fabric Glue
Fabric glue is formulated specifically for textiles.
It penetrates the weave, dries flexible, and resists cracking.
Best for:
- Clothing hems
- Decorative trim
- Light upholstery work
- Craft projects
Liquid Seam Sealants
Seam sealants create a thin protective coating along the edge.
They dry slightly firmer than fabric glue and provide excellent long-term protection.
Best for:
- Outdoor fabrics
- Heavy-use garments
- Canvas and denim edges
Clear Craft Adhesives
These work for light, temporary projects but should be used sparingly.
Excess glue can stiffen the fabric and affect appearance.
Step-by-Step: How to Apply Glue to Stop Fraying
Step 1 – Prepare the Edge
Cut the fabric cleanly using sharp tools.
A clean cut preserves fiber alignment and improves adhesive bonding.
You can reduce fraying risk further by following the methods explained in
Cutting Fabric Without Causing Fraying.
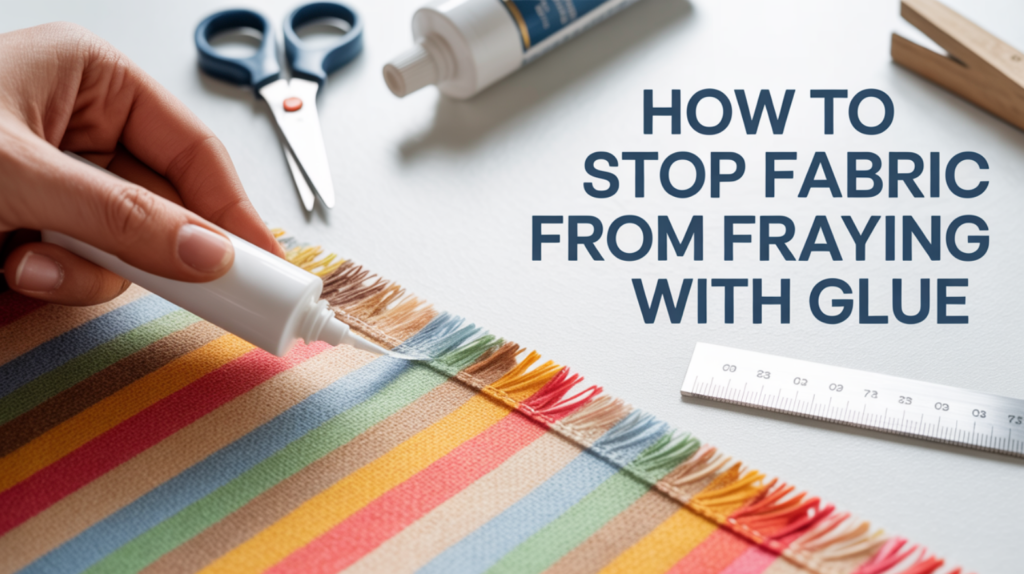
Step 2 – Apply the Glue
Apply a thin, even layer directly along the raw edge.
Allow the glue to soak slightly into the weave.
Do not oversaturate; excess glue can harden and discolor the fabric.
Step 3 – Shape and Dry
Press the edge gently with fingers or a flat surface.
This compression helps fibers lock together as the glue cures.
Allow full drying time according to the adhesive’s instructions.
Once cured, the edge becomes stable, smooth, and resistant to unraveling.
Enhancing Adhesive Results Without Sewing
Glue performs best when combined with mechanical stabilization.
You can improve durability by:
- Folding the edge before gluing
- Lightly pressing the area with low heat after partial curing
- Protecting glued edges during washing
These practices mirror the mechanical techniques explained in
How to Stop Fabric from Fraying Without Sewing.
When Glue Works Better Than Stitching
Glue excels when:
- Sewing would damage delicate fabric
- The area is decorative rather than load-bearing
- The repair must be fast
- The edge will not experience extreme tension
For high-stress seams and structural garments, stitching still provides superior reinforcement, which is detailed in
Best Stitching Methods to Prevent Fraying.
Conclusion
Stopping fabric from fraying with glue is a proven, reliable method when the adhesive is applied correctly and allowed to cure fully.
The glue bonds fibers into a stable structure that resists motion, wear, and unraveling.
When fibers are held together, the fabric holds its form.
And when the edge is secured, fraying loses its power.